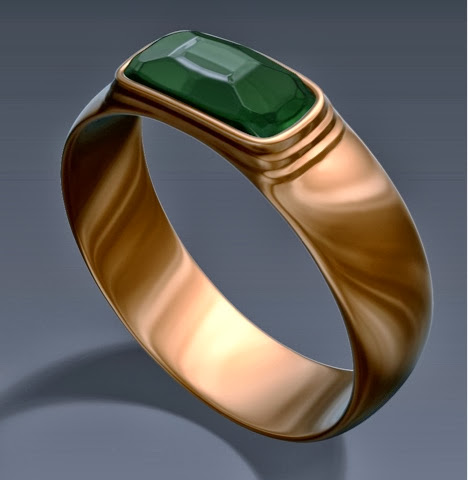
Today the ring was delivered, some trepidation as I opened the parcel, and to my delight the detail was better than I expected although I'm feeling like I am not quite right with the overall scale of the piece. Now I have this first, actual real silver ring on my actual real finger, I can virtually, make the adjustment. Things need fattening up a bit I feel.
Saturday, 1 February 2014
Tuesday, 28 January 2014
Zbrush jewellery
Continuing with my Zbrush exploration I've made a few rings, to test the water with.
This was a commission but we ran out of time unfortunately,
it was during the Christmas period.
On hindsight this would not have worked so well with casting, using this level of detail
It need something like cnc milling i think, but maybe another day I may look at that.
This one has just a little too much detail as well. when i say 'too much' I am referring. to the size of the detail rather than the amount.
The folks at http://www.westonbeamor.co.uk/
have been really helpful with teething problems.
Presently there are a few different ways to go making 3d models into metal objects. I'm no expert on the subject and there are many different techniques and methods used for many different industries from sculpture and jewellery to architechture and componant production.
Direct metal laser sintering will only lose detail once as it is built straight from the 3d model, but only available in 18 and 24 carat gold (bit expensive for experimental purpose) and titanium (difficult to finish). Silver, I'm told, is on the horizon but not yet available for the sintering process.
http://www.cooksongold-emanufacturing.com/
Another way to go is casting, which has four stages to go through. Each stage involves a small amount of loss in detail. First the model is printed in resin, then a mold is made from the resin, then wax is cast into the mold as many times as you want copies, these copies are then joined to a wax tree which is then cast in plaster before finally the molten silver is poured in, taking the place of the wax. (lost wax process). So this is a simple design with about as much detail as I think can get away with.
Although casting is not up to the detail achievable with zbrush you can still make interesting and original jewellery.
So here is the model.

It has a small lip around the edges of the motif as a result of my modelling in zbrush, trying to get the edges smooth, but no matter as this will get lost through the process.
Here an image of the resin rapid protototype.
As you can see the small lip has already been lost which is as intended. Cant wait to see the silver version. I know it will lose a bit more definition but as expected.
This was a commission but we ran out of time unfortunately,
it was during the Christmas period.
On hindsight this would not have worked so well with casting, using this level of detail
It need something like cnc milling i think, but maybe another day I may look at that.
This one has just a little too much detail as well. when i say 'too much' I am referring. to the size of the detail rather than the amount.
The folks at http://www.westonbeamor.co.uk/
have been really helpful with teething problems.
Presently there are a few different ways to go making 3d models into metal objects. I'm no expert on the subject and there are many different techniques and methods used for many different industries from sculpture and jewellery to architechture and componant production.
Direct metal laser sintering will only lose detail once as it is built straight from the 3d model, but only available in 18 and 24 carat gold (bit expensive for experimental purpose) and titanium (difficult to finish). Silver, I'm told, is on the horizon but not yet available for the sintering process.
http://www.cooksongold-emanufacturing.com/
Another way to go is casting, which has four stages to go through. Each stage involves a small amount of loss in detail. First the model is printed in resin, then a mold is made from the resin, then wax is cast into the mold as many times as you want copies, these copies are then joined to a wax tree which is then cast in plaster before finally the molten silver is poured in, taking the place of the wax. (lost wax process). So this is a simple design with about as much detail as I think can get away with.
Although casting is not up to the detail achievable with zbrush you can still make interesting and original jewellery.
So here is the model.

It has a small lip around the edges of the motif as a result of my modelling in zbrush, trying to get the edges smooth, but no matter as this will get lost through the process.
Here an image of the resin rapid protototype.
As you can see the small lip has already been lost which is as intended. Cant wait to see the silver version. I know it will lose a bit more definition but as expected.
Thursday, 14 November 2013
Zbrush 3ds max
Plenty of room for improvement but I think I've got the hang of the main techniques I know I want from Zbrush and explored the pipelines between ZB and 3ds Max which I already use.
So after using the zsheres to create a character base mesh and then learning a bit of sculpting, dynamesh and zremesher I had a mesh I could rig and animate.
After doing this in Max I wanted to know If it was possible to pull everything back together at this point. So....
I pelt mapped my already rigged and animated character in Max, goz'd to ZB, copied and pasted it's pelted uv's onto my now further sculpted 'tool', polypainted, exported texture and normal map then put that back on my already rigged character in Max.
So after using the zsheres to create a character base mesh and then learning a bit of sculpting, dynamesh and zremesher I had a mesh I could rig and animate.
After doing this in Max I wanted to know If it was possible to pull everything back together at this point. So....
I pelt mapped my already rigged and animated character in Max, goz'd to ZB, copied and pasted it's pelted uv's onto my now further sculpted 'tool', polypainted, exported texture and normal map then put that back on my already rigged character in Max.
Sunday, 27 October 2013
Zbrush
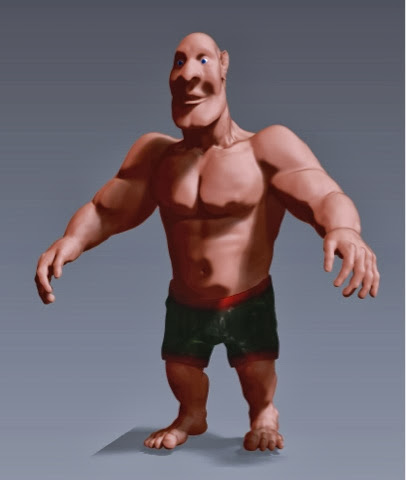
Here are some of the things I have made during my learning path. They will need a lot more work to finish them.This was my first Zbrush creation made with the Zspheres system, I then went on to look at the sculpture tools. I chose muscle man here so I could learn some still life at the same time.
I now have this chap running around in 3dsMax after GoZ'ing the model from Zbrush, making some bones and applying a skin modifier and adjusting the envelopes.

This model I started making in 123dsculpt. after importing and tidying up in Zbrush, I continued sculpting and have started learning poly paint amongst other things.

And of course, had a go at sculpting some hard objects.

.
Wednesday, 22 May 2013
Random stuff between jobs
Some stuff I did a while back.
Somethings i've been working on recently
The bee is work in progress and is linked to some work, i'm gonna throw it in as a free bee as i've been using it as a way of learning/understanding CAT animation system, eventually he will have textures and hair/fur etc.
Just some of the stuff I have been doing between other jobs and projects.
Friday, 21 December 2012
rFactor 2 round 2
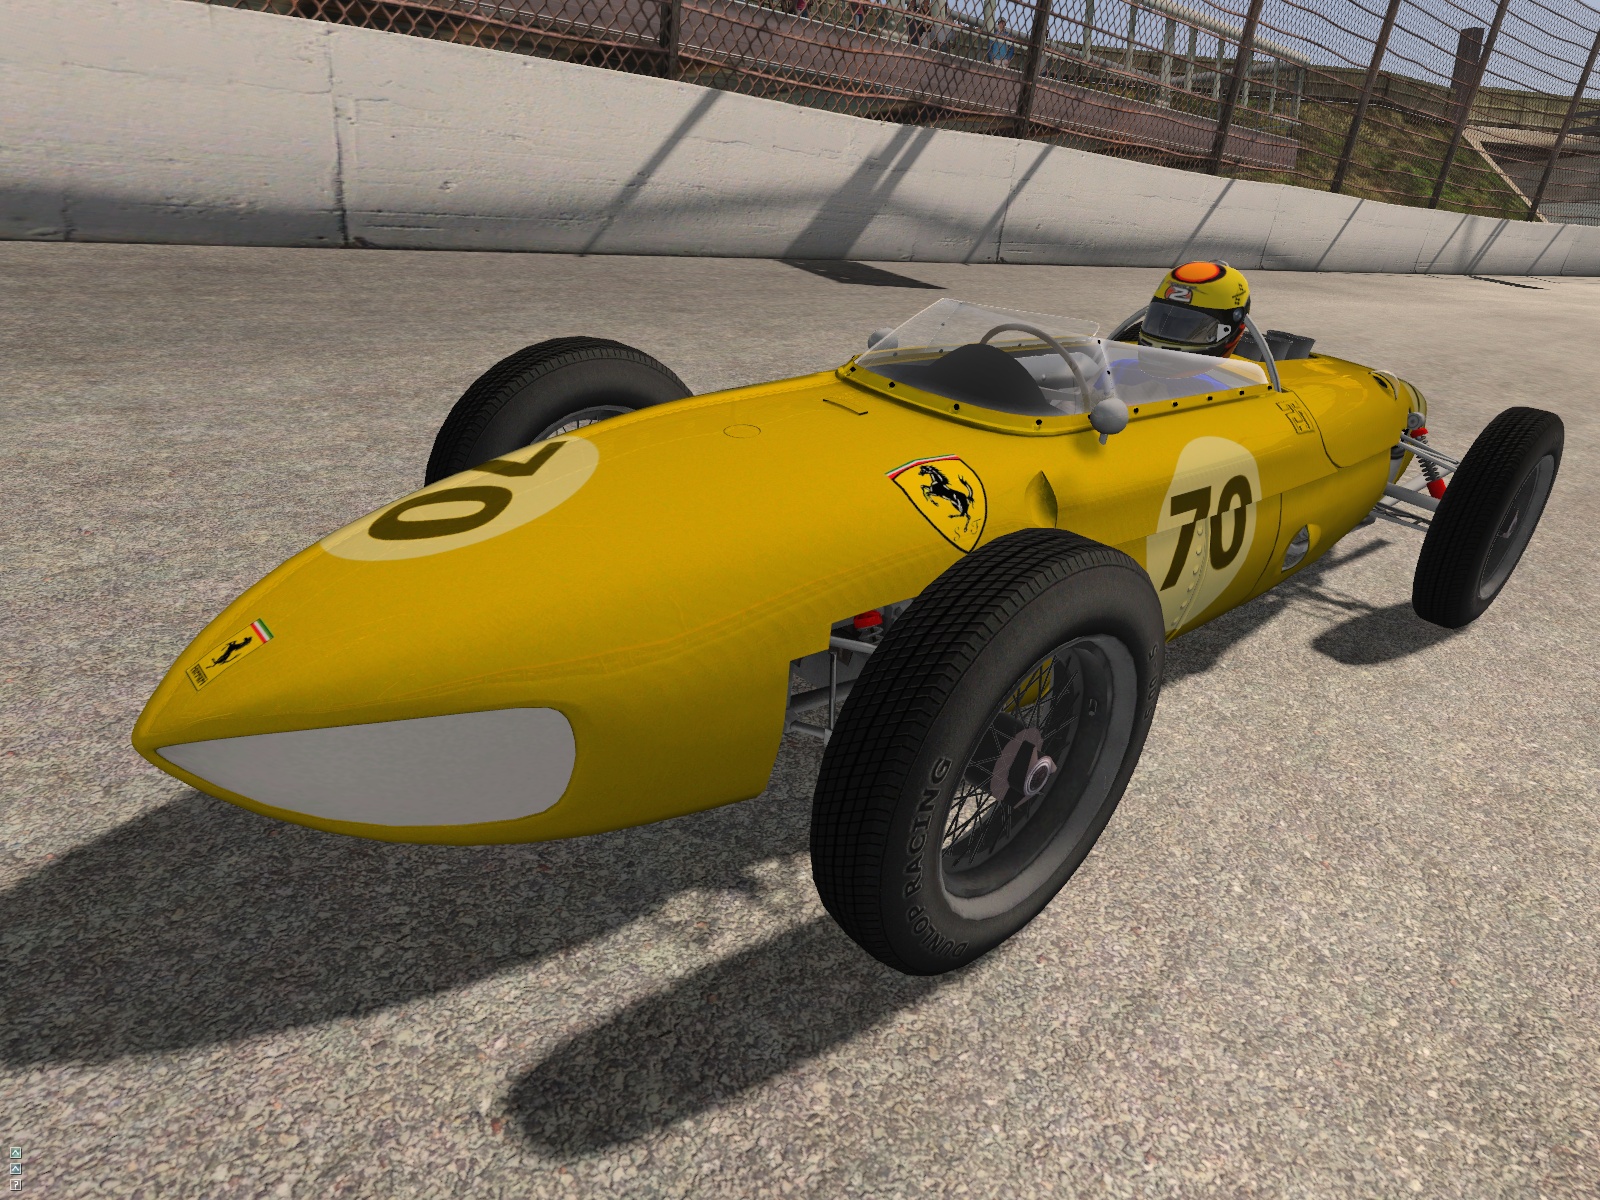
I've spent a few days on this project again recently, after re aquainting myself with where I had left off, I remodeled some bits, added some detail. It is not optimised and has no lower LOD's as yet. Texture art and materials is still work in progress.
Subscribe to:
Posts (Atom)