https://www.etsy.com/uk/shop/3Dobject
Tuesday, 11 October 2016

Wednesday, 29 July 2015
OOOOO long time no update.
Well, I have been busy since my last post here.
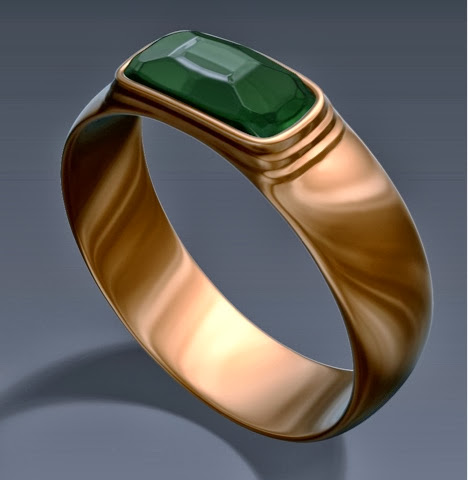
Most recently I have been designing some more jewellery.
These are for sale now on Etsy. More designs are in the making.

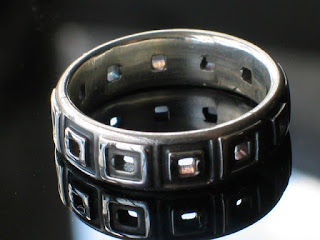

Most recently I have been designing some more jewellery.
These are for sale now on Etsy. More designs are in the making.


Sunday, 7 December 2014
Cafe Race
I have modeled this Norton Commando complete with animated chain, sprocket and wheels.
I've been experimenting with the engine parts in zbrush. On hold now due to mouse injury.

I've been experimenting with the engine parts in zbrush. On hold now due to mouse injury.
Monday, 27 October 2014
3D Jewellery Pieces.
Here are some more 3D rings, now for sale on etsy......https://www.etsy.com/uk/shop/3Dobject?ref=hdr_shop_menu
I made these with Photoshop, Zbrush and 3dsmax. They were manufactured by Weston Beamore. http://www.westonbeamor.co.uk/
They are finished by hand with or without anodised colour.


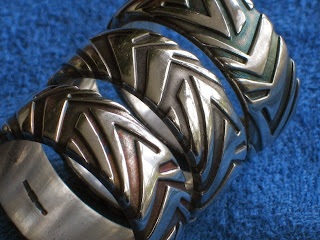

I made these with Photoshop, Zbrush and 3dsmax. They were manufactured by Weston Beamore. http://www.westonbeamor.co.uk/
They are finished by hand with or without anodised colour.

These are anodised.
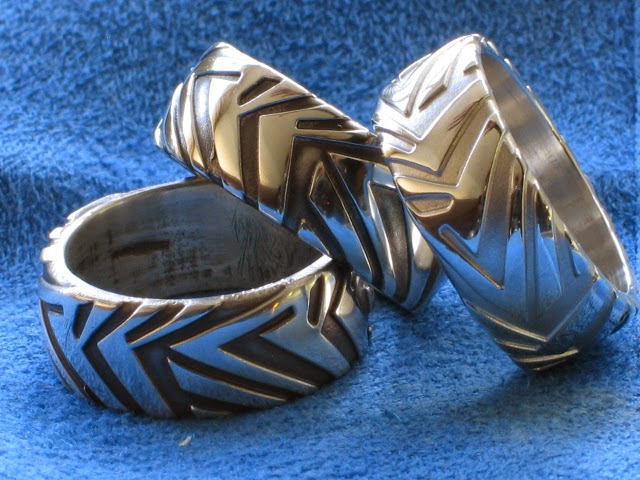
These are oxidised with Liver of Sulpher apart from the one on the left which is finished without any surface colour.

The one in the middle is coloured with Liver of Sulpher.
The two either side are anodised.
This is the finished model rendered in Zbrush
before manufacture.
Saturday, 19 April 2014
Compositing.
Learning some compositing for my 3d work using after effects.

Although the background is not great quality, I used the HDRI environment from www.openfootage.com because I had already used it for the reflection on the model. I learnt this because I am currently working on another project which will require compositing as I have already rendered part of an animation but want to add another layer of animation to it.
Saturday, 1 February 2014
Silver 3D
Today the ring was delivered, some trepidation as I opened the parcel, and to my delight the detail was better than I expected although I'm feeling like I am not quite right with the overall scale of the piece. Now I have this first, actual real silver ring on my actual real finger, I can virtually, make the adjustment. Things need fattening up a bit I feel.
I can now use the model aside the real ring as reference when making new models.
Not the best finish in the world but this is casting, and only a few minutes hand finishing.

Not the best finish in the world but this is casting, and only a few minutes hand finishing.
Tuesday, 28 January 2014
Zbrush jewellery
Continuing with my Zbrush exploration I've made a few rings, to test the water with.
This was a commission but we ran out of time unfortunately,
it was during the Christmas period.
 On hindsight this would not have worked so well with casting, using this level of detail
It need something like cnc milling i think, but maybe another day I may look at that.
This one has just a little too much detail as well. when i say 'too much' I am referring. to the size of the detail rather than the amount.

The folks at http://www.westonbeamor.co.uk/
have been really helpful with teething problems.
Presently there are a few different ways to go making 3d models into metal objects. I'm no expert on the subject and there are many different techniques and methods used for many different industries from sculpture and jewellery to architechture and componant production.
Direct metal laser sintering will only lose detail once as it is built straight from the 3d model, but only available in 18 and 24 carat gold (bit expensive for experimental purpose) and titanium (difficult to finish). Silver, I'm told, is on the horizon but not yet available for the sintering process.
http://www.cooksongold-emanufacturing.com/
Another way to go is casting, which has four stages to go through. Each stage involves a small amount of loss in detail. First the model is printed in resin, then a mold is made from the resin, then wax is cast into the mold as many times as you want copies, these copies are then joined to a wax tree which is then cast in plaster before finally the molten silver is poured in, taking the place of the wax. (lost wax process). So this is a simple design with about as much detail as I think can get away with.
Although casting is not up to the detail achievable with zbrush you can still make interesting and original jewellery.
So here is the model.

It has a small lip around the edges of the motif as a result of my modelling in zbrush, trying to get the edges smooth, but no matter as this will get lost through the process.
Here an image of the resin rapid protototype.
As you can see the small lip has already been lost which is as intended. Cant wait to see the silver version. I know it will lose a bit more definition but as expected.

This was a commission but we ran out of time unfortunately,
it was during the Christmas period.
It need something like cnc milling i think, but maybe another day I may look at that.
This one has just a little too much detail as well. when i say 'too much' I am referring. to the size of the detail rather than the amount.
The folks at http://www.westonbeamor.co.uk/
have been really helpful with teething problems.
Presently there are a few different ways to go making 3d models into metal objects. I'm no expert on the subject and there are many different techniques and methods used for many different industries from sculpture and jewellery to architechture and componant production.
Direct metal laser sintering will only lose detail once as it is built straight from the 3d model, but only available in 18 and 24 carat gold (bit expensive for experimental purpose) and titanium (difficult to finish). Silver, I'm told, is on the horizon but not yet available for the sintering process.
http://www.cooksongold-emanufacturing.com/
Another way to go is casting, which has four stages to go through. Each stage involves a small amount of loss in detail. First the model is printed in resin, then a mold is made from the resin, then wax is cast into the mold as many times as you want copies, these copies are then joined to a wax tree which is then cast in plaster before finally the molten silver is poured in, taking the place of the wax. (lost wax process). So this is a simple design with about as much detail as I think can get away with.
Although casting is not up to the detail achievable with zbrush you can still make interesting and original jewellery.
So here is the model.
It has a small lip around the edges of the motif as a result of my modelling in zbrush, trying to get the edges smooth, but no matter as this will get lost through the process.
Here an image of the resin rapid protototype.
As you can see the small lip has already been lost which is as intended. Cant wait to see the silver version. I know it will lose a bit more definition but as expected.
Thursday, 14 November 2013
Zbrush 3ds max
Plenty of room for improvement but I think I've got the hang of the main techniques I know I want from Zbrush and explored the pipelines between ZB and 3ds Max which I already use.
So after using the zsheres to create a character base mesh and then learning a bit of sculpting, dynamesh and zremesher I had a mesh I could rig and animate.
After doing this in Max I wanted to know If it was possible to pull everything back together at this point. So....
I pelt mapped my already rigged and animated character in Max, goz'd to ZB, copied and pasted it's pelted uv's onto my now further sculpted 'tool', polypainted, exported texture and normal map then put that back on my already rigged character in Max.

So after using the zsheres to create a character base mesh and then learning a bit of sculpting, dynamesh and zremesher I had a mesh I could rig and animate.
After doing this in Max I wanted to know If it was possible to pull everything back together at this point. So....
I pelt mapped my already rigged and animated character in Max, goz'd to ZB, copied and pasted it's pelted uv's onto my now further sculpted 'tool', polypainted, exported texture and normal map then put that back on my already rigged character in Max.

Sunday, 27 October 2013
Zbrush
Here are some of the things I have made during my learning path. They will need a lot more work to finish them.This was my first Zbrush creation made with the Zspheres system, I then went on to look at the sculpture tools. I chose muscle man here so I could learn some still life at the same time.
I now have this chap running around in 3dsMax after GoZ'ing the model from Zbrush, making some bones and applying a skin modifier and adjusting the envelopes.
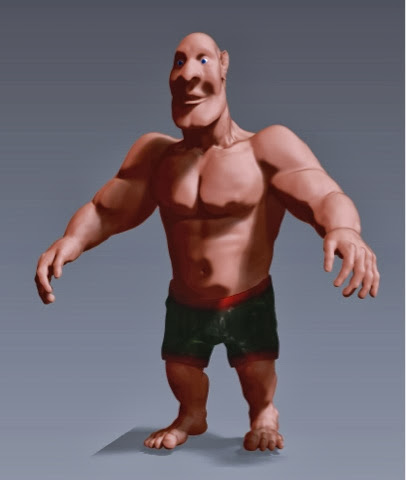
This model I started making in 123dsculpt. after importing and tidying up in Zbrush, I continued sculpting and have started learning poly paint amongst other things.

And of course, had a go at sculpting some hard objects.
.
Tuesday, 27 August 2013

Wednesday, 22 May 2013
Random stuff between jobs
Some stuff I did a while back.


Somethings i've been working on recently


Somethings i've been working on recently


The bee is work in progress and is linked to some work, i'm gonna throw it in as a free bee as i've been using it as a way of learning/understanding CAT animation system, eventually he will have textures and hair/fur etc.
Just some of the stuff I have been doing between other jobs and projects.
Friday, 21 December 2012
rFactor 2 round 2
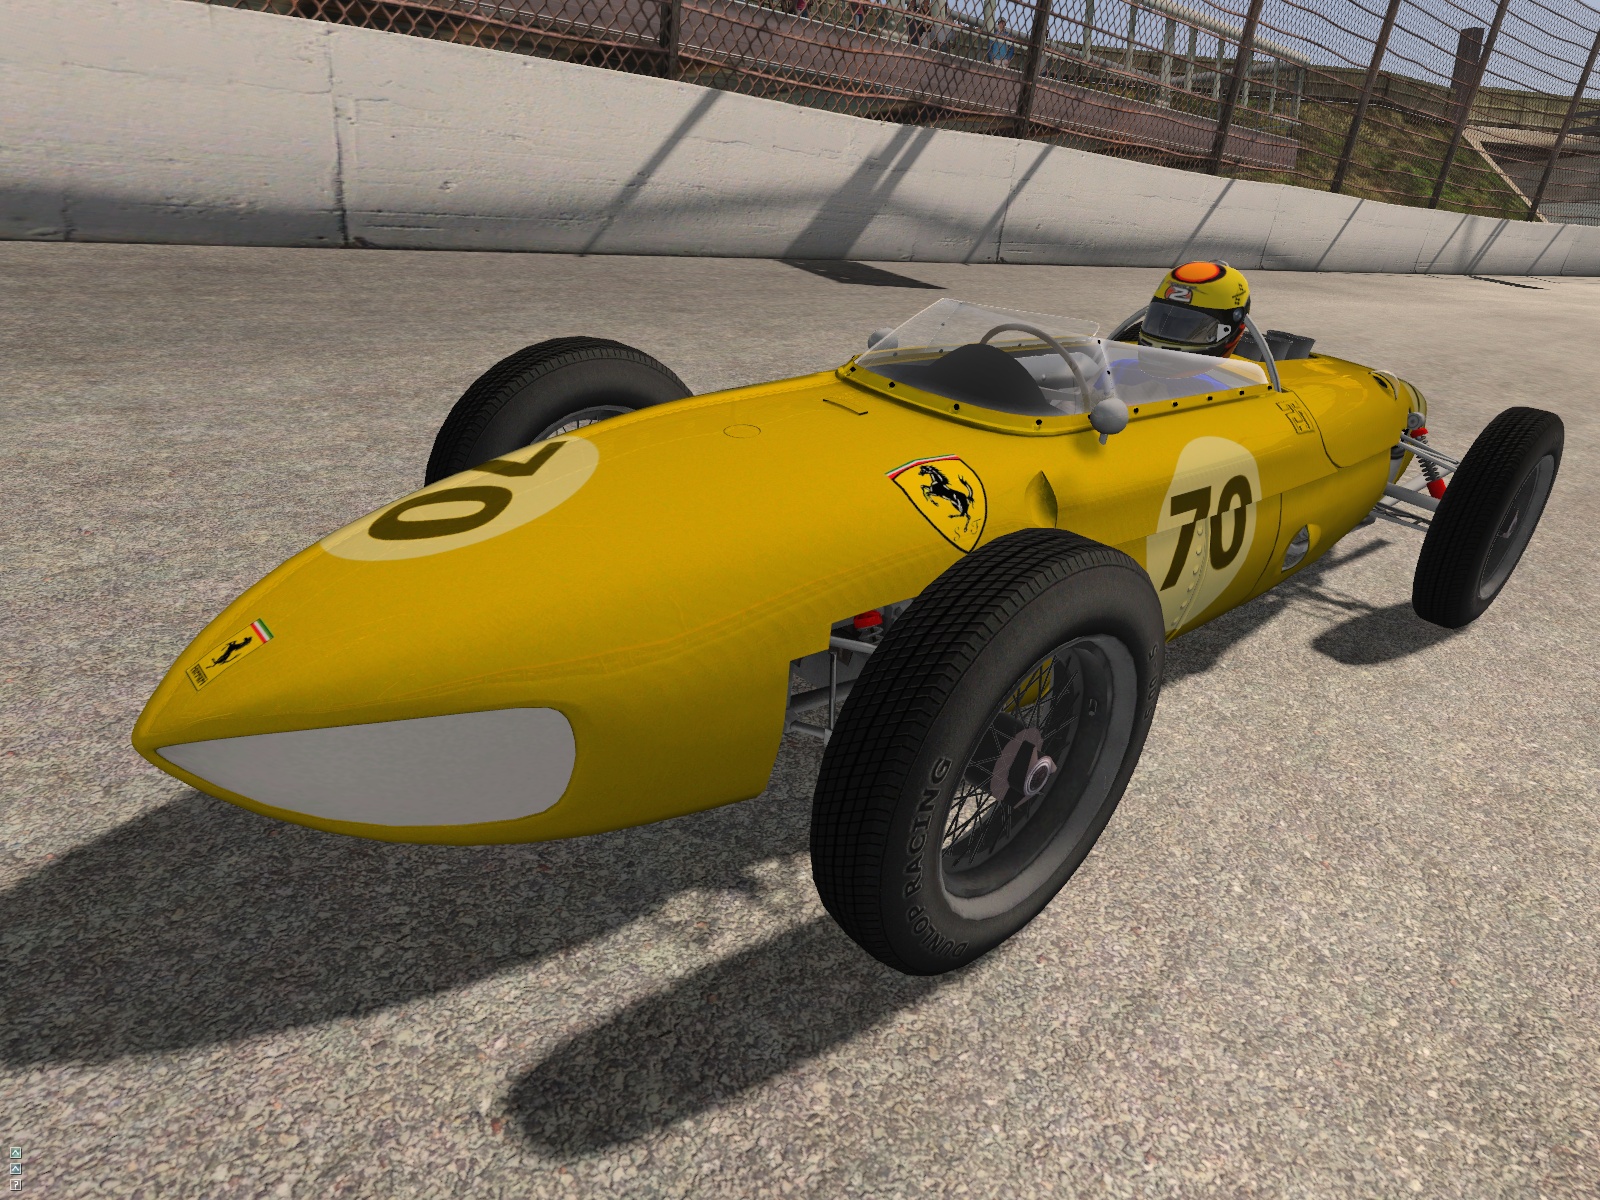
I've spent a few days on this project again recently, after re aquainting myself with where I had left off, I remodeled some bits, added some detail. It is not optimised and has no lower LOD's as yet. Texture art and materials is still work in progress.

Monday, 12 November 2012
concept art
I usually work from photo's, but I made this helmet from some concept art by a friend Ion.


Wednesday, 10 October 2012
Roadkill Warriors
Here's a blast from the past, I found this old footage of early development of a mod called Roadkill Warriors which I made these vehicles for (not the police car) and developed their code, using uscript.
The environments, weapons and characters were the work of other members of the team.
The music was from some BlackDog remix I was involved with at that time.
The environments, weapons and characters were the work of other members of the team.
The music was from some BlackDog remix I was involved with at that time.
Sunday, 9 September 2012
Colt Navy 1851
I made this some time ago, it is high poly and has not yet been uv unwrapped. my intention was to make a few different versions, one with engraving etc. Could be used as 1st person model ingame, everything else you might need for a game could be extracted from this base model.
 When I've got time I may attempt the engraving.

Friday, 24 August 2012
3d doodle
A quik 3d doodle. (5 hours including artwork)
My new custom made bass pedal made by Dave Hall.
Possibly we may offer custom artwork for these boxes of electronic goodness.
Here is a link to Daves site....http://www.davehallamps.co.uk/

Here is a link to Daves site....http://www.davehallamps.co.uk/

Monday, 6 August 2012
Tuesday, 17 April 2012
I've been a bit busy this last month with work and such.
Spent a few days on the Ferrari recently, some art for the dashboard, I now have three clocks working.
I've also sorted out most of the suspension as close as I can.
rFactor2 is still in beta, and at the moment has took the shine out of the look. I will post some pictures soon.
Spent a few days on the Ferrari recently, some art for the dashboard, I now have three clocks working.
I've also sorted out most of the suspension as close as I can.
rFactor2 is still in beta, and at the moment has took the shine out of the look. I will post some pictures soon.
Sunday, 11 March 2012


Monday, 5 March 2012
Hmm well, it's been a while since my last post, i've been asking a lot of questions at the ISI forums, i've been experimenting and trying things out. I got some tips about the tyres (thanks Andreas E) and now have a drivable vehicle, there is still a ton of things to do, mainly the cockpit view, dials, needles, warning lamps, mirrors etc. All the suspension is now linked up and actuating correctly. Tyres are now squishy but need adjusting/tuning as does the physics in general, although I would be happy to do the physics and indeed will certainly get it as good as I can, i'm thinking I could get somebody from the rFactor community to do a more thorough job. Eventually I am planning to have some of the parts removeable, when I get into the damage system, (shame to let all that underbody detail go to waste)
Currently this vehicle has 40 different parts (.gmt)and 66 textures (.dds) a lot of these textures are bump (normal maps), specular and damage versions mostly output from the main diffuse textures I have made in photoshop. Here is a breakdown of how i've shared out the texture space. All textures are power of two (square)
I have used one 2048 texture for the main body template, one 2048 for the chassis, one 512 for less important inside surfaces, one 512 for wheel, one 512 for tyrewall, one 512 for tyre tread, one 512 for dashboard/steeringwheel, one 128 for brakedisk and one 512 for windows and glass.
There will be a few more textures and some more modeling to go yet.
Heres a work In progress clip.
Currently this vehicle has 40 different parts (.gmt)and 66 textures (.dds) a lot of these textures are bump (normal maps), specular and damage versions mostly output from the main diffuse textures I have made in photoshop. Here is a breakdown of how i've shared out the texture space. All textures are power of two (square)
I have used one 2048 texture for the main body template, one 2048 for the chassis, one 512 for less important inside surfaces, one 512 for wheel, one 512 for tyrewall, one 512 for tyre tread, one 512 for dashboard/steeringwheel, one 128 for brakedisk and one 512 for windows and glass.
There will be a few more textures and some more modeling to go yet.
Heres a work In progress clip.
Subscribe to:
Posts (Atom)